Would you like to collaborate with others in this workspace? We'll guide you through the process of adding your first team member, which will establish you as the super administrator.
Create user groups
Go to the Members menu and click the Create a user group button.
- Enter the group name (required).
- Provide a description (required).
- Choose the functional rights to allocate to the member group. All members within the same group will share these rights (required).
Add Members
- Choose the member group you want to expand and click
Add member.
- Enter the new member’s name.
- Provide the login email for the member’s GeeLark account (it’s required that this email is not already registered with GeeLark, and using a genuine email is recommended).
- Set a password for the account (required; it’s recommended to use a highly secure password).
- Assign a role to the new member – choose from administrator, manager, or member (required).
- Administrator: This role allows for altering function permissions and changing group assignments for members.
- Manager: This role includes the ability to add new members and modify group assignments for members.
- Member: This role does not permit adding users or changing group assignments.
- Authorize the new member for specific groups (required; to grant access to all groups, simply select all).
- Determine the maximum number of profiles the new member is allowed to create (optional; leaving this blank means there is no limit to the profiles, including authorized profiles, that the new member can create).
- Add remarks for the new member (optional).
Change / delete member information and reset password
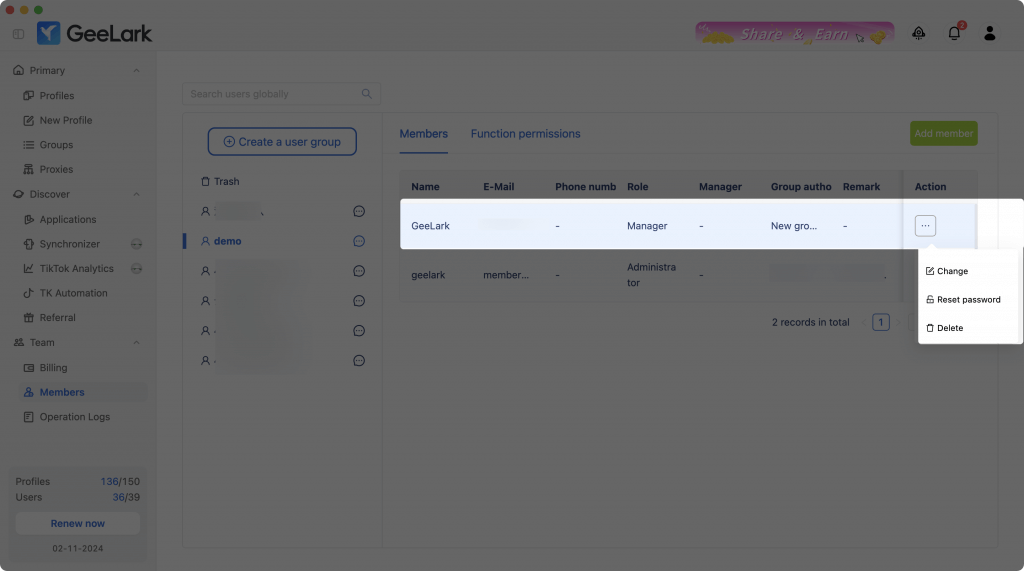
- You can modify a team member’s name, login email, group, role, and authorized groups.